We are glad to share with you about the results of our work, company news,and give you timely developments and personnel appointment and removal conditions.
Fault and Replacement Suggestions:
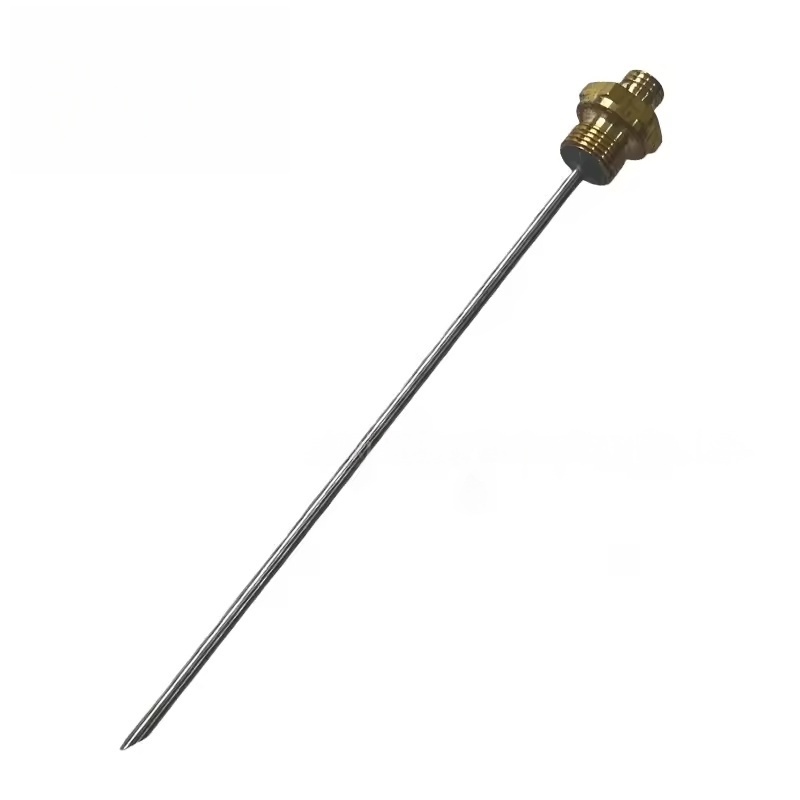
If the fuel injection valve becomes clogged, stuck, or leaks, it may cause the following issues:
Insufficient fuel injection: Poor lubrication of the main engine, increased temperature, leading to rotor wear or abnormal noise;
Excessive fuel injection: Increased oil content in the compressed air, heavier load on the oil separator, and increased energy consumption;
Uneven fuel injection: Insufficient lubrication in some parts of the rotor, resulting in uneven wear or overheating.
Suggestions:
During daily maintenance, check if there is any oil accumulation on the fuel injection valve and clean the filter regularly (if applicable);
When encountering abnormal engine temperature, increased fuel consumption, or abnormal noise, promptly inspect the condition of the fuel injection valve;
Faults and Replacement Suggestions:
Common Faults and Handling:
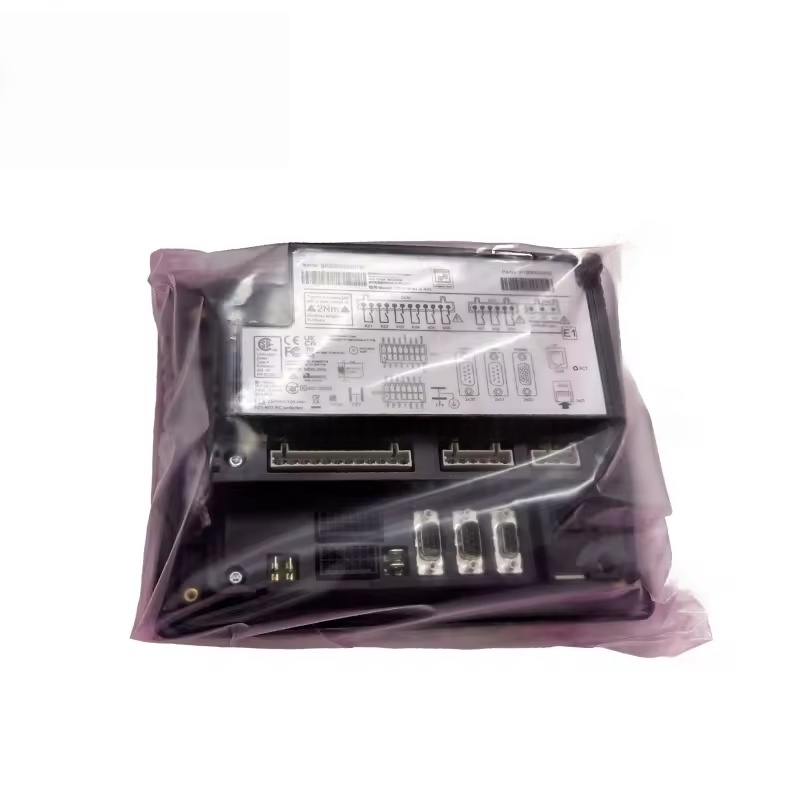
Contact Erosion: Manifested as poor contactor engagement, severe overheating, or failure of the main circuit. Replace the contactor to prevent the motor from operating without phases;
Winding Burnout: Usually caused by abnormal voltage or winding aging, resulting in the contactor unable to engage. Check the winding voltage and replace the original part;
Stuck and Strange Noise: Caused by dirty iron core or failed spring. May lead to contact adhesion. Replace immediately to prevent the equipment from losing control.
When replacing, please note: Power off and confirm that the main circuit voltage has been disconnected. When connecting, distinguish between the main contact (high-power circuit) and the auxiliary contact (control circuit). Secure the connection terminals to prevent loosening and overheating.
Faults and Replacement Suggestions:
Common Faults and Handling:
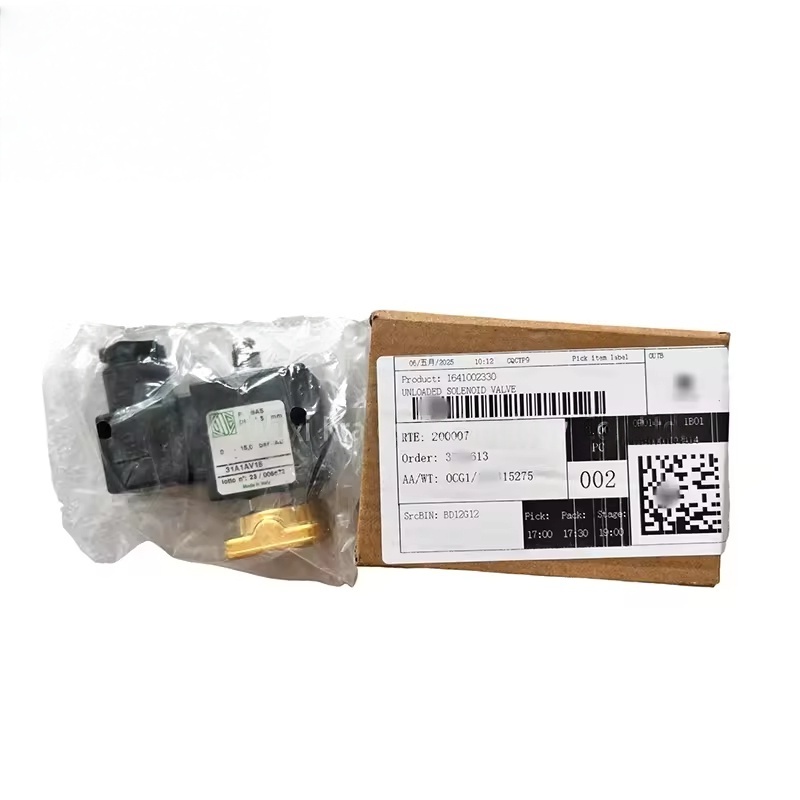
Winding Burnout: Usually caused by abnormal voltage or long-term overloading, manifested as the electromagnetic valve not moving. It is recommended to replace the entire electromagnetic valve (including the winding);
Valve Core Stuck: Caused by impurities or oil contamination, preventing the valve from fully opening or closing, which may lead to abnormal pressure or poor drainage. It is necessary to replace the original part;
Leakage: Caused by aging of the sealing components, it is necessary to replace in time to avoid loss of compressed air or engine oil.
When replacing, please note: Power off operation, confirm that the voltage specification is consistent, and when installing, the sealing component should be coated with a small amount of engine oil to enhance the sealing performance.
Fault and Replacement Suggestions:
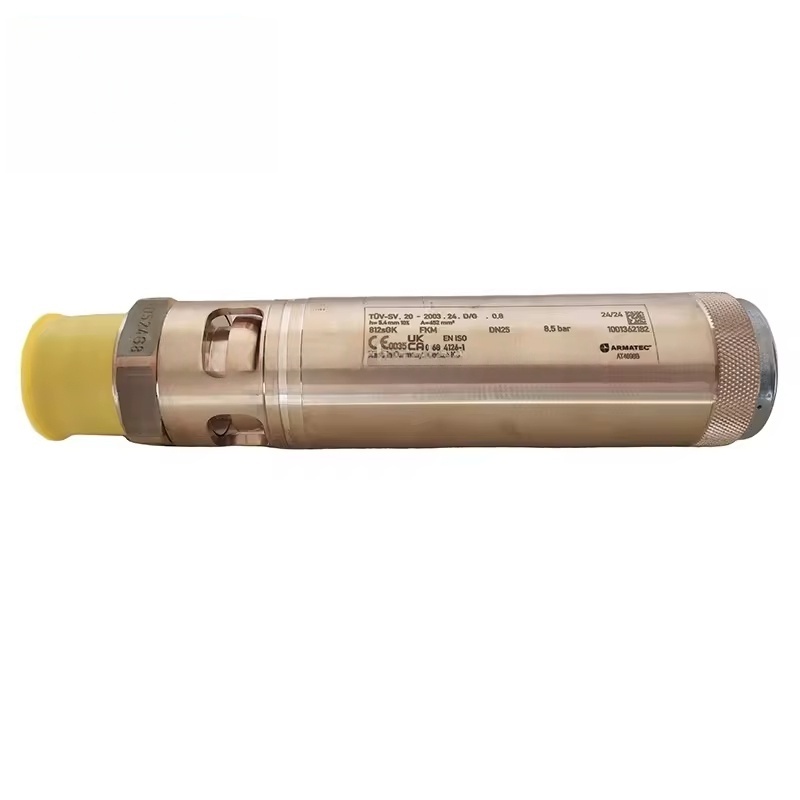
If the thermostat valve gets stuck (unable to open or close), it will cause:
Low oil temperature (always bypassing the cooler): The high viscosity of the oil increases the load on the engine and energy consumption;
High oil temperature (always on the cooling): Especially in low-temperature environments, the oil heats up slowly, and the lubrication effect declines.
Suggestions:
When you notice abnormal oil temperature (deviating from the normal range by more than ±10℃), check the status of the thermostat valve;
When there is a fault, replace the original factory thermostat valve to avoid using an alternative part that leads to insufficient temperature control accuracy;
When replacing, clean the pipe interface to ensure the correct installation direction of the valve (according to the arrow indication on the valve body), to prevent installation in the wrong position from affecting the function.
Troubleshooting and Replacement Suggestions:
Common Issues and Solutions:
Stalling or Leakage: Causes unstable pressure and increased energy consumption. It is recommended to disassemble and clean or replace directly (it is suggested to replace the entire set to avoid matching issues between new and old components).
Reduced Adjustment Precision: Mostly due to wear of sensors or valve cores. Replacement of the original kit is required and recalibration is necessary.
Installation Tips: After replacement, parameter matching through the controller (such as setting pressure upper and lower limits) is necessary to ensure normal system linkage.
Replacement and Maintenance Recommendations:
Replacement Cycle: Generally, replace once every 3,000 - 4,000 hours or annually (whichever comes first). In harsh environments, the cycle should be shortened;
Replacement Indicators: If the oil content in the compressed air exceeds the standard (oil stains appear at the air inlet), or if the pressure difference between the separator inlet and outlet is too high (more than 0.8 - 1.0 bar), replace immediately;
Installation Notes: During replacement, clean the interface, check the integrity of the sealing ring, and tighten according to the specified torque; after replacement, discharge the air inside the tank to ensure the system operates normally.
We use cookies to offer you a better browsing experience, analyze site traffic and personalize content. By using this site, you agree to our use of cookies.
Privacy Policy